Learn how to disable and bypass Cloudflare’s cache to view real-time changes, troubleshoot issues, and ensure you’re seeing the latest version of your site during development or debugging.
Purging Cloudflare Cache
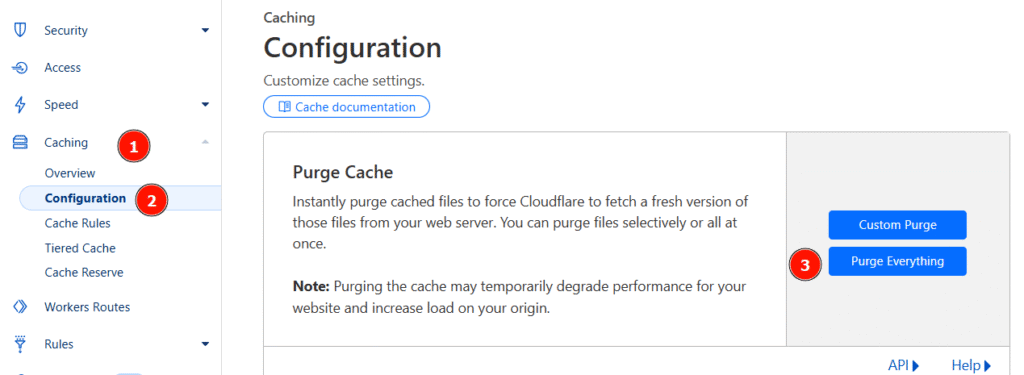
💡Note: Cache purging is Instant But Not Immediate as it may take a few minutes to reflect globally, and it is best to test in a browser’s guest or incognito mode to exclude the cache.
Add a Cache-Buster Query to URLs to bypass local browsers’ cache.
https://yoursite.com/?nocache

//In my example, I would like to test.
https://wpdebugging.com/?nocache

Verify via CLI
curl -I https://yoursite.com
curl -D - -o /dev/null https://wpdebugging.com
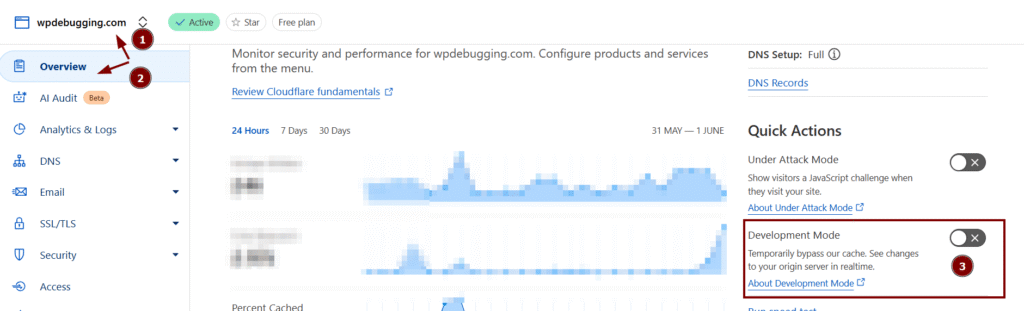
//It will grep the response header.Enable under Development Mode
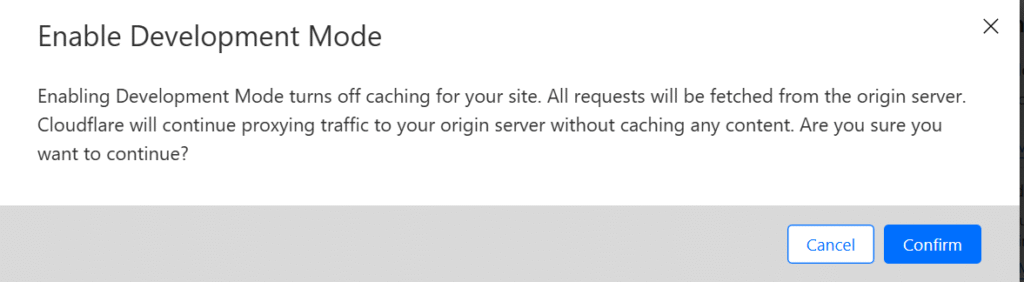
If the site is under development, it is better to enable Development Mode.
Conclusion
Bypassing or disabling Cloudflare caching, especially through Developer Mode or custom page rules, gives you full control during development and troubleshooting. It ensures you’re viewing the most recent changes, helping you identify and fix issues faster without waiting for cached content to clear. Just remember to re-enable caching when you’re done to maintain optimal performance.