A Distributed Denial-of-Service (DDoS) attack floods your server or website with malicious traffic from thousands of compromised devices (botnets), overwhelming resources and causing downtime. For WordPress sites, this can:
- Trigger false auto-scaling costs on cloud platforms.
- Crash databases (MySQL/MariaDB).
- Spike CPU/memory usage on your hosting server.
Why Cloudflare’s Under Attack Mode Matters
When your site is under DDoS attack, Cloudflare Under Attack Mode acts as a virtual shield:
Buy Time: Gives you breathing room to analyze logs, adjust firewall rules, or contact your hosting provider.
Challenge Suspicious Visitors: Forces requests to pass a JavaScript/CAPTCHA check before accessing your site.
Block Botnets: Filters out automated traffic while allowing legitimate users to access it.
Consequences of Ignoring DDoS Protection:
- SEO Damage: Downtime = lost rankings.
- Revenue Loss: E-commerce sites can lose $100k+ per hour.
- Reputation Harm: Users lose trust in your brand.
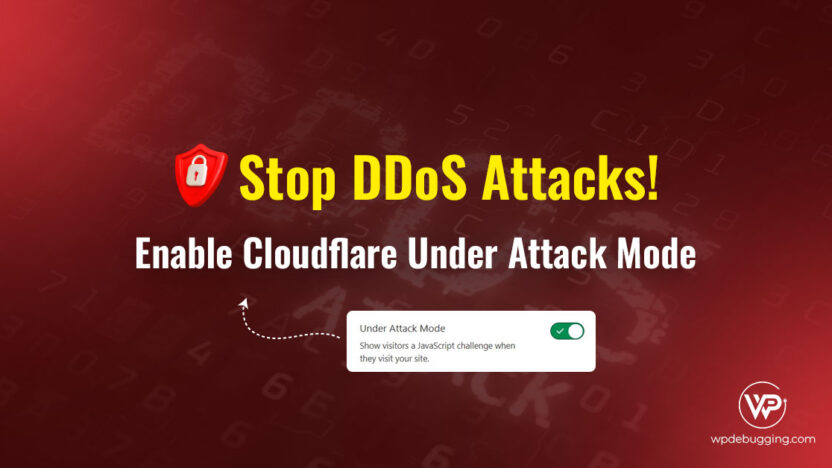
Step-by-Step: Enable Under Attack Mode
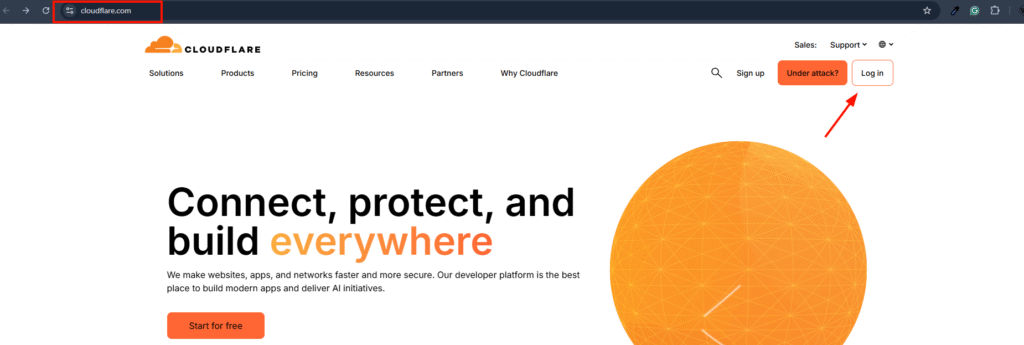
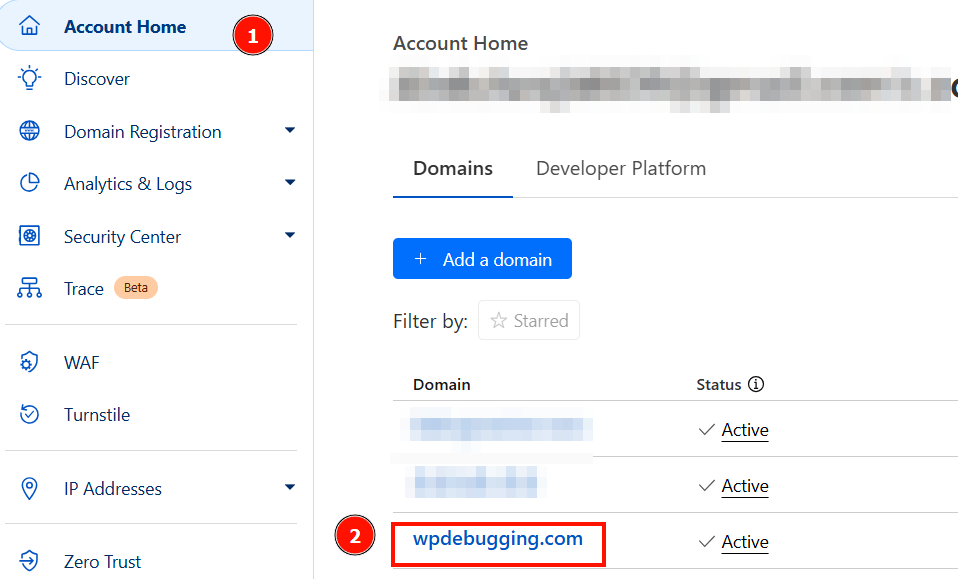
1. Log In to Cloudflare
- Go to Cloudflare Dashboard.
- Select the domain on which you want to enable it.
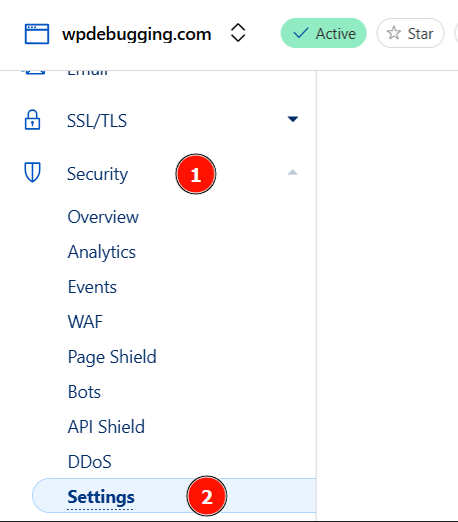
2. Navigate to “Security” Settings
- In the left menu, click Security > Settings.
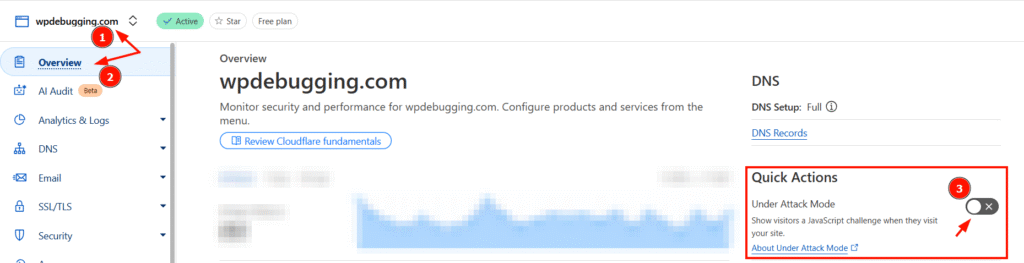
3. Toggle “Under Attack Mode”
- Locate “Security Level” (usually set to “Medium” by default).
- Change the dropdown to “I’m Under Attack”.

You can enable “Under Attack Mode” from either the Overview tab or the Security section, as mentioned below.
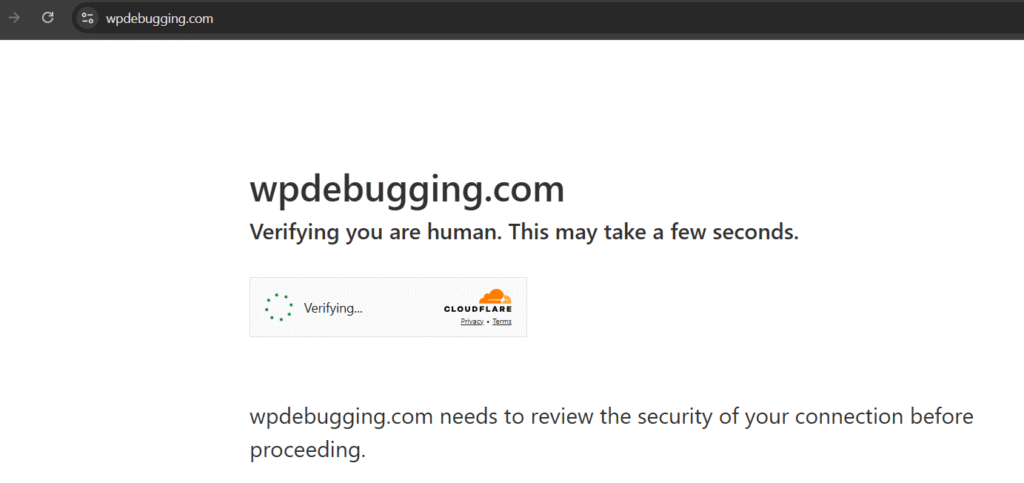
4. Verify Activation
- Visit your site. New visitors will see a 5-second “Checking your browser” page.
- Legitimate users: Automatically redirected after verification.
- Bots/Attackers: Blocked at the edge.
5. Post-Activation Steps
- Monitor Analytics: Go to Security > Events to track blocked requests.
- Adjust Firewall Rules: Combine with Cloudflare’s WAF or Rate Limiting for layered defense.
- Disable When Safe: Once the attack subsides, revert to your original security level to reduce user friction.
Best Practices for Hosting Engineers
- Preemptive Setup: Enable “Auto-Enable Under Attack Mode” in Cloudflare’s
cloudflare.conf(for advanced users). - Log Analysis: Use
grep/awkon server logs to identify attack patterns. e.g,
grep "POST /" /var/log/nginx/access.log | awk '{print $1}' | sort | uniq -c | sort -nr- Rate Limiting: Set thresholds in Cloudflare to block excessive requests per IP.
- Origin Protection: Ensure your server’s IP is hidden via Cloudflare’s proxy (gray cloud = danger!).
When NOT to Use Under Attack Mode
- Low-Traffic Sites: The CAPTCHA page may deter real users.
- API Endpoints: Can break mobile apps/third-party integrations. Use Rate Limiting instead.
- Sustained Attacks: For prolonged attacks, contact Cloudflare Support or upgrade to Enterprise plans.
Conclusion
Cloudflare’s Under Attack Mode is a lifesaver during DDoS crises, but it’s not a “set and forget” solution. Pair it with robust firewall rules, real-time monitoring, and server hardening (e.g., tuning nginx.conf worker processes) for comprehensive protection.